home | what's new | about sven | car design & illustration | model car gallery | car videos | sven's rides | studio tour | links
|
|
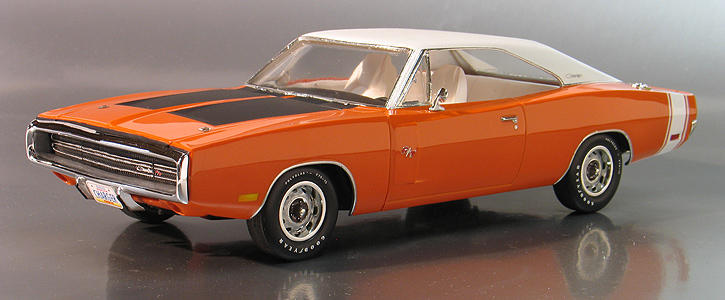
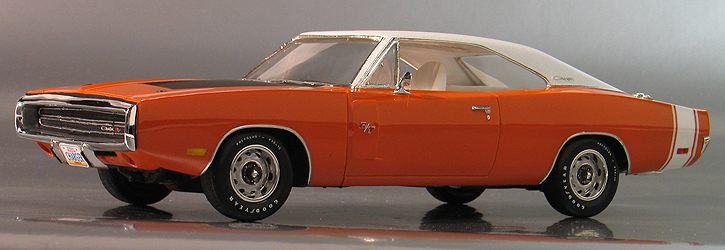
1970 Dodge Charger R/T - (built 2008)
I've always had an affection for the late 60's and early 70's Mopars. With their Hemi engines, aggressive styling features and wild color schemes they were a far cry from the bland jelly bean style of today's cars. This Dodge Charger R/T is the rare and highly sought after 1970 model kit made by MPC. Back in the 80's I went on a buying spree and bought a large number of old built models. I bought them with the idea of restoring them some day. Back then you could pick them up for pretty cheap. I bought most of them for about $5 to $10 dollars each. Some I found at swap meets. Others I bought from friends who built them as kids and then lost interest in them. Occasionally, I got lucky and found a few at garage sales. Well they've mostly been sitting around my modeling room collecting dust the past twenty years, but recently I decided to dig a few of them out and restore a couple of the more desirable ones.
When I bought this Charger, it had been amateurishly built with a thick brush painted black exterior and a red interior. The first task was to disassemble it and strip the paint. Sometimes with a paint job that's very thick, it can be a crap shoot what kind of sins are hiding underneath. This time though, an overnight dip in Castrol Super Clean revealed a near pristine body.
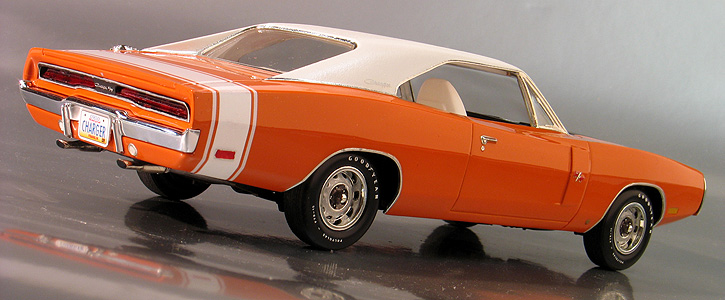
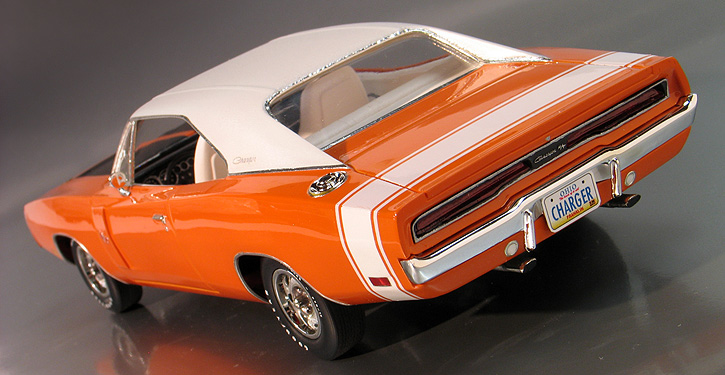
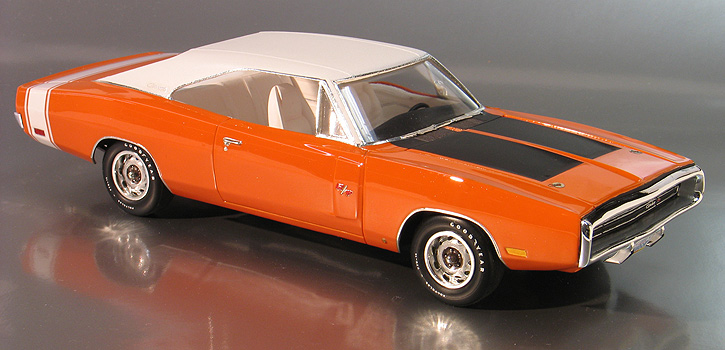
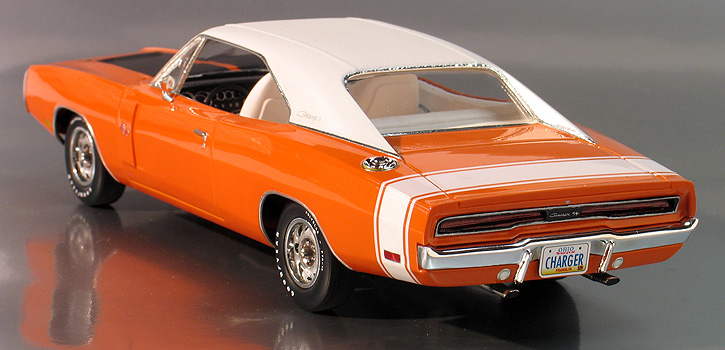
The body had a few sink marks on the quarter panels and trunk that had to be filled with bondo. The hood also had a large gap where it met the cowl. I bonded a strip of styrene to the edge of the hood and sanded it smooth. Then I was ready for paint. After studying reference photos on these cars I decided I wanted to paint my Charger in one of the factory "high impact" colors and add a vinyl top. Luckily, Testors makes many of the Mopar "high impact" colors in their spray lacquer line that are exact matches to the factory colors. For this build I chose "Go Mango" orange. The next hurdle was creating the rear deck bumble bee stripe. The Revell '69 Charger kit has a nice set of decals that fit the '70, but the stripe for the '69 featured the R/T logo on the side of the quarter panel. This is correct for a '69 R/T but not for a '70 R/T which does not have a logo. I solved this problem by covering up the logo with a couple extra layers of solid white made from some generic white decal paper.
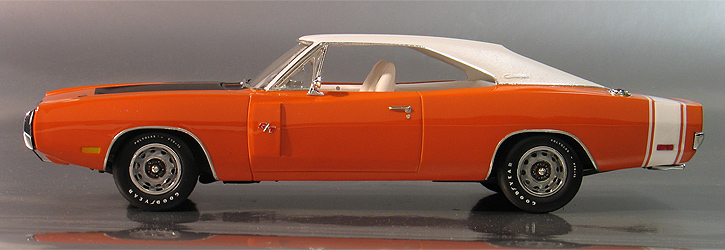
After the body color was finished I shot the paint job with a coat of PPG Concept 2000 urethane clear. Afterward, I added the trim and seams for the vinyl top. To create the vinyl top texture, I then masked this area and painted it with a semi gloss white sprayed from several feet way. The trick is to just mist the paint on dry and let it fall on the surface without letting it flow together. It takes a lot of passes with the spray paint but can eventually built up a realistic looking scale vinyl texture. The interior was painted with the same technique. Lastly, the hood was masked and sprayed flat black.
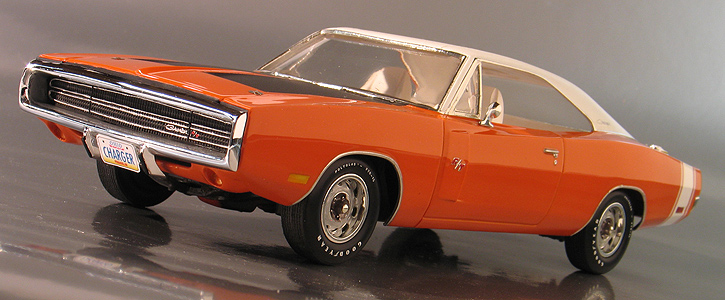
The chrome parts were very dull, so I stripped the chrome pieces and sent them off to Chrome Tech USA to be replated. They came back in a few weeks and looked awesome. One of the nice things about having the chrome redone is that you have the opportunity to clean up any mold lines on the parts before the replating. This creates chrome parts that are better than original. I've noticed the plating from Chrome Tech to be much more durable than the original parts too. After comparing the original kit's wheels to the ones found in the most recent issue of AMT/ERTL's '71 Charger kit, I thought the newer kit's wheels looked more accurate. I mated these to a set of tires from a Revell '70 Torino Cobra kit which also provided the Goodyear lettering on it's decal sheet.
Other details I added included photo-etched hood pins and a side mirror taken from the newest '71 Charger kit. For the crowning tough I made a custom set of license plates using my computer and inkjet printer. It was good to finally put this neat old Mopar back together and it added a rare piece to my muscle car collection. I've got a few more of these old built-ups waiting in the wings for restoration and hopefully they'll see the light of day again soon.
|
|